When you are submitting images to websites or sending them via email, you will sometimes come across a limitation on the file size allowed.
This is understandable as images are large data files that take up a lot of disk space.
Many entry level cameras produce images that are approx 6000 pixels by their longest side. Even smartphone images are around 4000 pixels.
When you upload these images to many social media platforms, for example Facebook, they automatically downsize and compress your images – often really badly!
The ability to resize images is built into nearly every photo editor and viewing application available. This includes the software which is installed on every Windows PC by default – The Photos App.
If you use Photoshop, Lightroom, Affinity Photo or any other image editing software, I would use it to resize your images.
However, if you don’t have a dedicated image editing software or you just want to quickly resize one or two images, the Photos app is quick and simple.
An Important note on Resizing Images
There’s a difference between resizing an image to be smaller, and resizing it to be bigger. Nearly every image editing program can scale down a photo without any issue. However, if you use these programs to make a photo larger, you will find that the photo loses a lot of quality.
How to resize an image on Windows using Photos
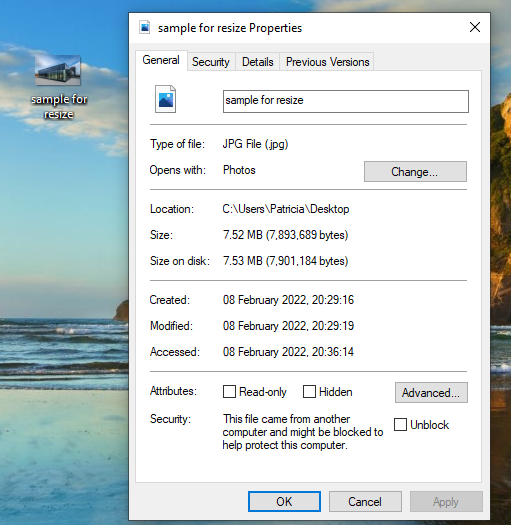
To check the size of your original image, right click on the image and select “Properties”. Under the general tab, you will see the disk space of the image, in our example, it is 7.52MB.
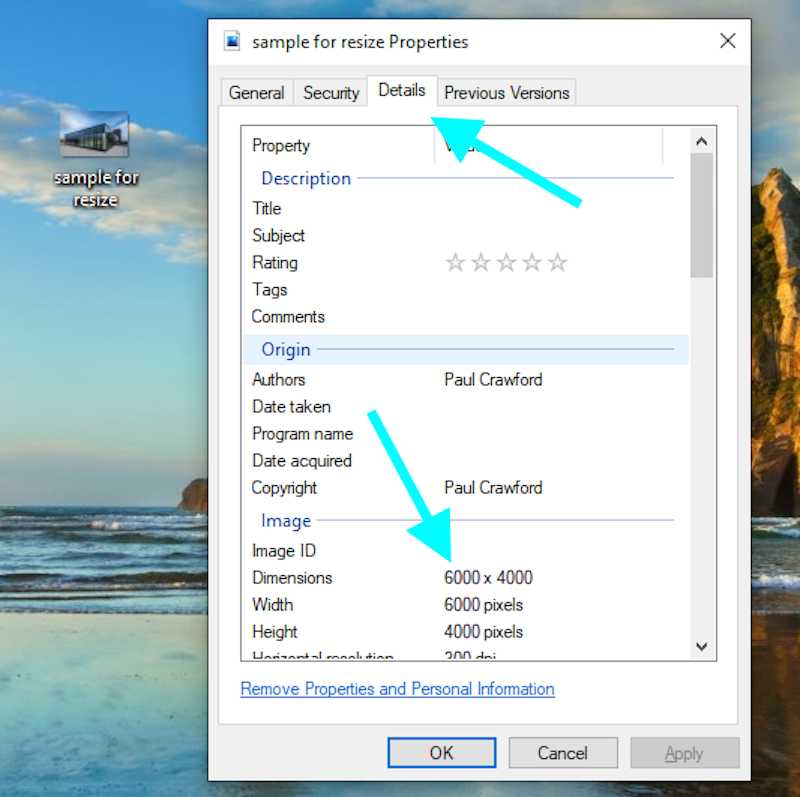
To find the image dimensions, select the “Details” tab – in this example, the image is 6000 pixels by 4000 pixels.
To open the image in the Photos App, double click on it. (If you have assigned a different software to open image files, you will need to right click on the image and select “Open with” and select Photos)
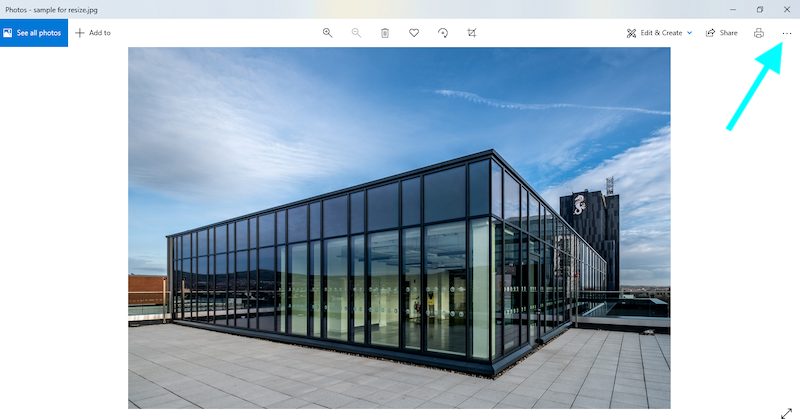
From the Photo App screen, click the three dots located in the top-right of the screen.
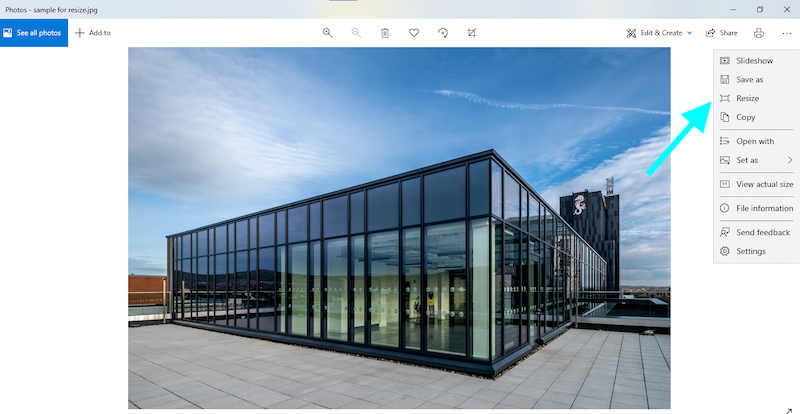
Select “Resize” from the drop-down menu.
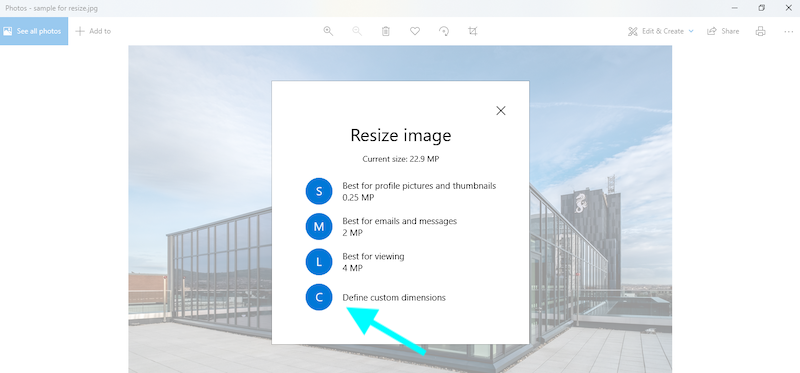
A pop-up window will appear. You can select one of the preset sizes shown on or for a specific size, click on “Define custom dimensions”. Another pop-up window will appear…
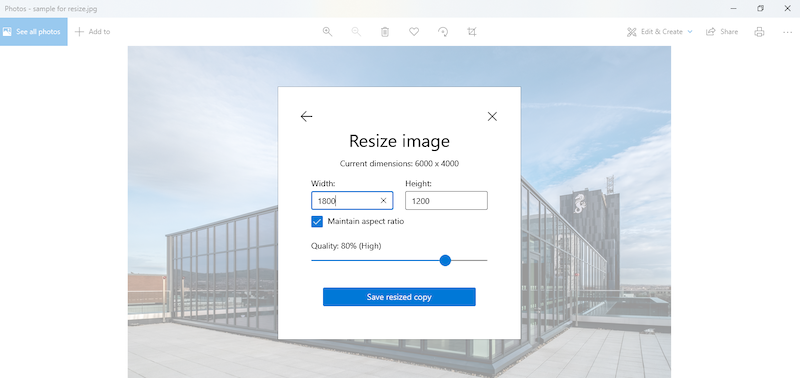
Make sure you keep the box next to “Maintain aspect ratio” checked otherwise you will distort the image.
As you enter a number into either the width or height box, the other box will automatically adjust its number in proportion to the number you just entered.
You can also enter “Quality” here – this adjusts the jpeg compression – the higher the number the less compression will occur, although this will increase the file size. Generally for website, a Quality of between 60 and 80% will be perfect.
Finally click the “Save resized copy” button to save the resized file.