
Please Note: Some of the links on this page are affiliate links, and at NO ADDITIONAL COST TO YOU, we may earn a small commission if you make a purchase.
PhotoClub247 Ltd. is a participant in the Amazon EU Associates Programme, an affiliate advertising program designed to provide a means for sites to earn advertising fees by advertising and linking to amazon.co.uk
Do you put your camera away?
A lot of photographers have a fear of getting their equipment wet.
And with good reason! Water making its way into any electronic equipment can spell disaster.
But with a bit of care and the right approach camera equipment can be safely used in all weathers and conditions.
One of the first things to check… Is your equipment ‘weather sealed’?
This is a term that should be taken with a touch of caution as there is no defined standard for weather sealed among camera manufacturers.
It is a term that consumers falsely define as ‘weatherproof’
As a rule of thumb if a camera is classed as a ‘pro’ body it will have a higher resistance to water ingress than a ‘consumer’ body but that does not mean it is waterproof.
It just means it will withstand the elements better. No DSLR or Mirrorless camera will take kindly to being fully immersed in water.
The Great Outdooors
What is the right approach for using your equipment outdoors in all conditions?
First thing to consider is how much humidity are you likely to encounter. Will it be a light rain shower or absolute downpour?
Remember – even shooting in or around waterfalls or by the seashore (more on this later) is likely to result in your equipment getting splashed with water.
Some sort of rain cover is well worth investing in if you shoot a lot of wildlife or outdoor sports.
It can be home made using plastic bags and elastic bands or a purpose made cover made for specific camera and lens combinations that can ensure your equipment stays dry and safe.
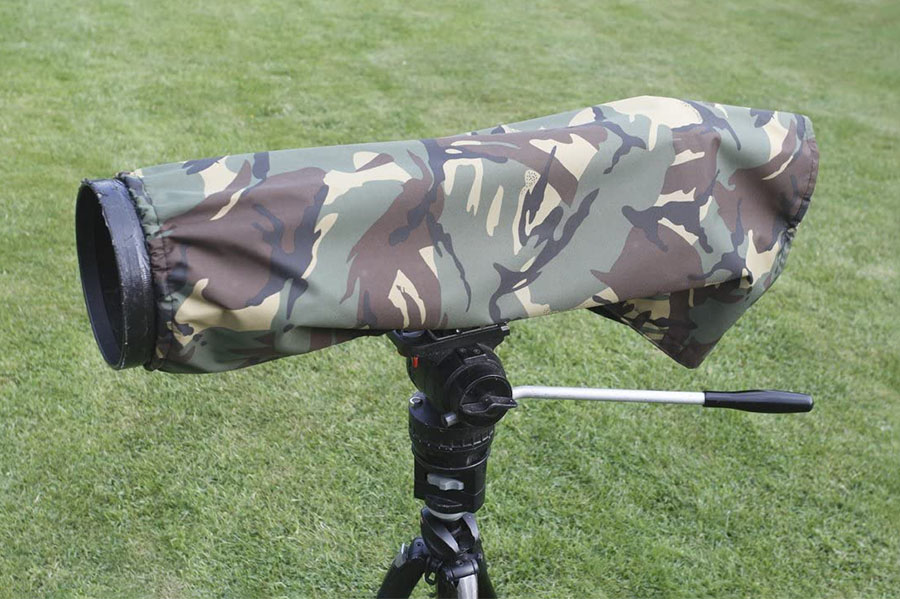
A point to consider when deciding which method to use is that a lot of covers are ‘rain covers’ in that they are designed to protect from water failing roughly from above the camera and sometimes do not give reasonable protection from mist and spray you can encounter when shooting waterfalls, rapids or crashing waves on rocks.
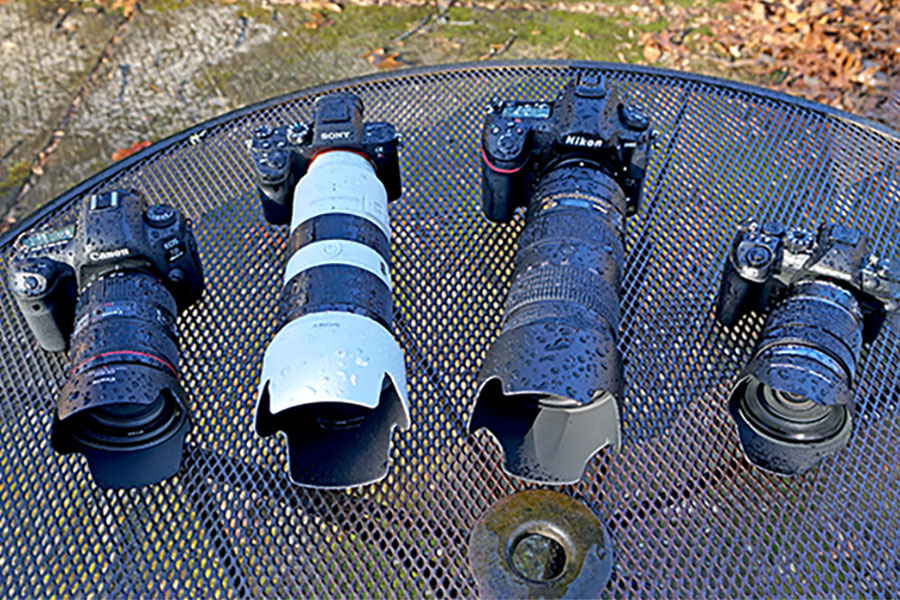
For most of the common lenses available you can get neoprene covers which can give a reasonable level of extra protection from the elements as well as protecting against knocks and bumps.
A general rule of thumb is that prime lenses are more weather resistant than zoom lenses.
Zooms that extend externally are less resistant as they rely on an internal O-Ring to stop moisture from entering the body of the lens. Over time, as you zoom in and out, this O-Ring can wear and reduce its effectiveness in keeping moisture and dust from entering.
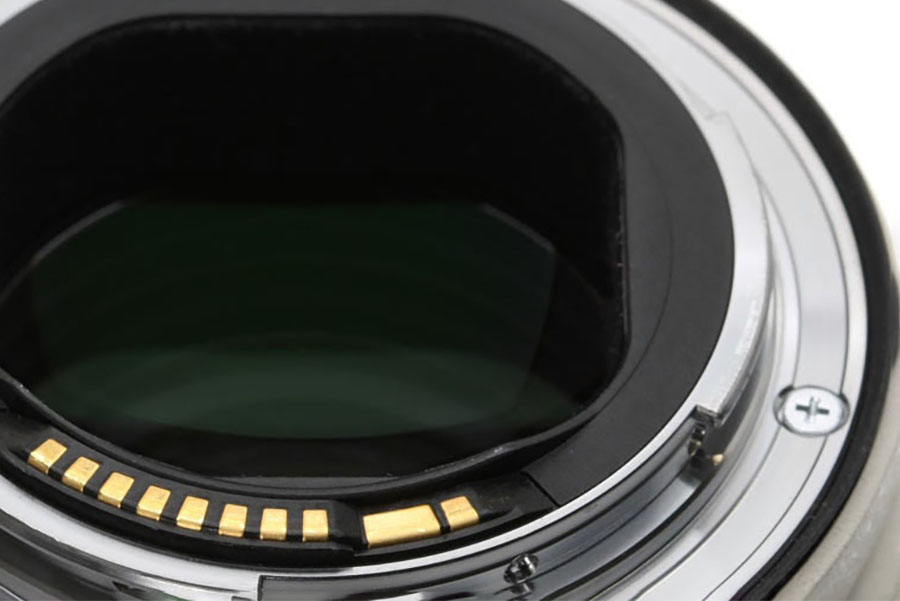
Most good quality lenses will have a rubber seal on the lens mount. If this gets damaged or worn it will fail to keep moisture and dust out.

A tip for these rubber sealing rings on a lens is to smear a very light amount of silicon grease on the seal this will keep the rubber supple and stop it hardening over time.
What else can you do to protect your gear?
A microfibre cloth, not the lens cleaning type but those for drying cars etc, is a must to dry off your gear before you put it away in your bag.
Another handy tip is to carry some sealable food bags to put the now damp cloth in. No point drying off your gear and then putting a damp cloth beside it!
I personally have 3 or 4 silica sachets in my equipment bags to absorb any moisture if shooting in damp conditions. A tip for using silica sachets is to remove them and place them on say a warm radiator to reactivate them as they do ‘die’ after a period of time.
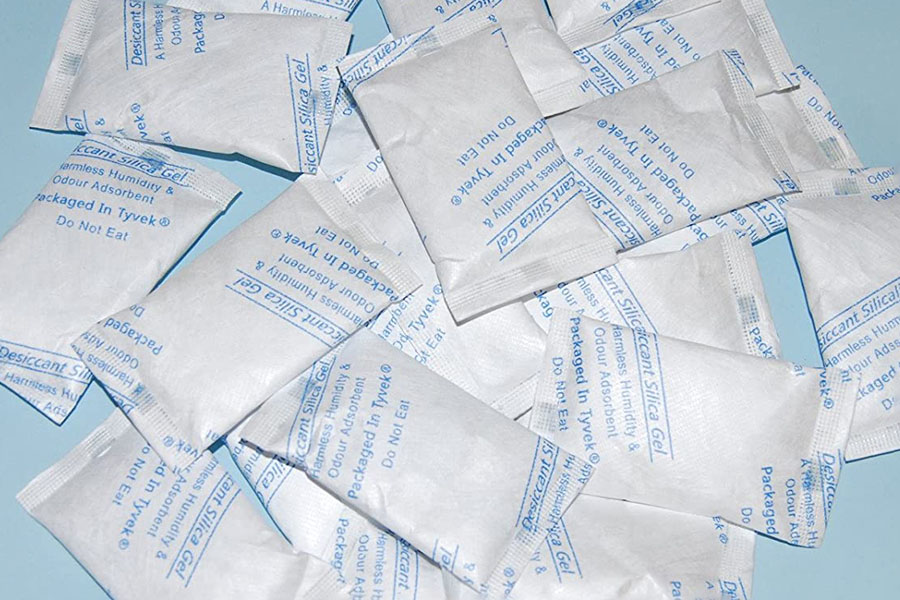
Remember putting damp gear away or storing in high humidity conditions is a sure fire way of getting mould in your lens.
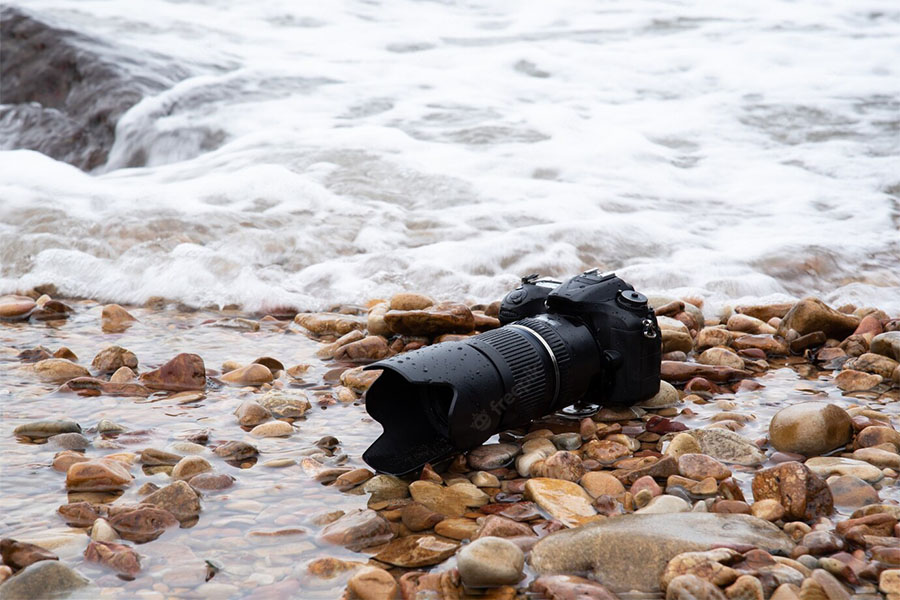
Oh I do like to be beside the seaside!
The above tips are vitally important when shooting on the seashore as the saltwater is the enemy of any electronic equipment. When combined with sand, it can be a lethal combination.
If I intend to shoot in or around the seashore, I bring a well dampened cloth, again in a sealed plastic bag and sometimes even a water bottle of clean fresh water to clean my equipment before packing up.
I also take care in thoroughly cleaning down my tripod. This will be especially important if it is constructed from aluminium as the saltwater will corrode the metal in no time.
I would also use the fresh water to rinse off the front lens element before patting dry.
NEVER wipe as grains of sand can scratch the glass.
Disaster Strikes!
What to do if the worst happens and either your gear gets a complete soaking or falls into the water?
Speed is of the essence here!
Get the equipment out of the water immediately and remove the battery as quickly as possible.
Stuff the battery compartment with an absorbent material such as tissue paper.
Next, dry the equipment’s external surfaces.
Again, do not wipe the front glass element and DO NOT be tempted to switch the camera on or remove the lens. It is best left in place until you can get the equipment in a warm dry environment.
Once you get your gear home or at least to a warm dry environment again give the equipment a good go over with an absorbent cloth then and only then remove the lens from the body and inspect the internals for signs of water. Hopefully there is none!
Next open the battery compartment, remove the tissue or cloth leaving the door open, place the camera body in a large container and fill with as many silica sachets as you can lay or hands on!
Dry white rice will also work but if you use rice make sure you put tissue/cloth back in the battery compartment and put a soft lens cloth in the camera body through the lens mount as rice is very dusty no point drying the camera only to get the sensor, mirror and view screen covered in dust.
Warp the whole lot in cling film and put it somewhere warm for 24 hours again do not be tempted to switch it on. Then after time is up remove the camera, take out the tissue/cloths (if you used rice wipe the body down before removing the these) pop a battery back in, cross your fingers and switch on and with a bit of luck a fully working camera!
If not, don’t despair, just repeat for another 24 hours.

